Want to encourage your children to play outside more? Build a mud kitchen! Kids love to play in the mud and it isn’t difficult to make this outdoor cooking spot. If you have all the materials you need, you can make a mud kitchen in one evening! It really is that easy!
1) Find a Kitchen Design You Like
Look online for a mud kitchen design you and your kids like. You will use this as your model for the kitchen you build. Pinterest has tons of ideas for mud kitchens. Keep in mind that some are more complex than others and may take you longer than an evening to assemble.
Look for a basic one like we made if you want to finish it rather quickly.
2) Locate Pallets
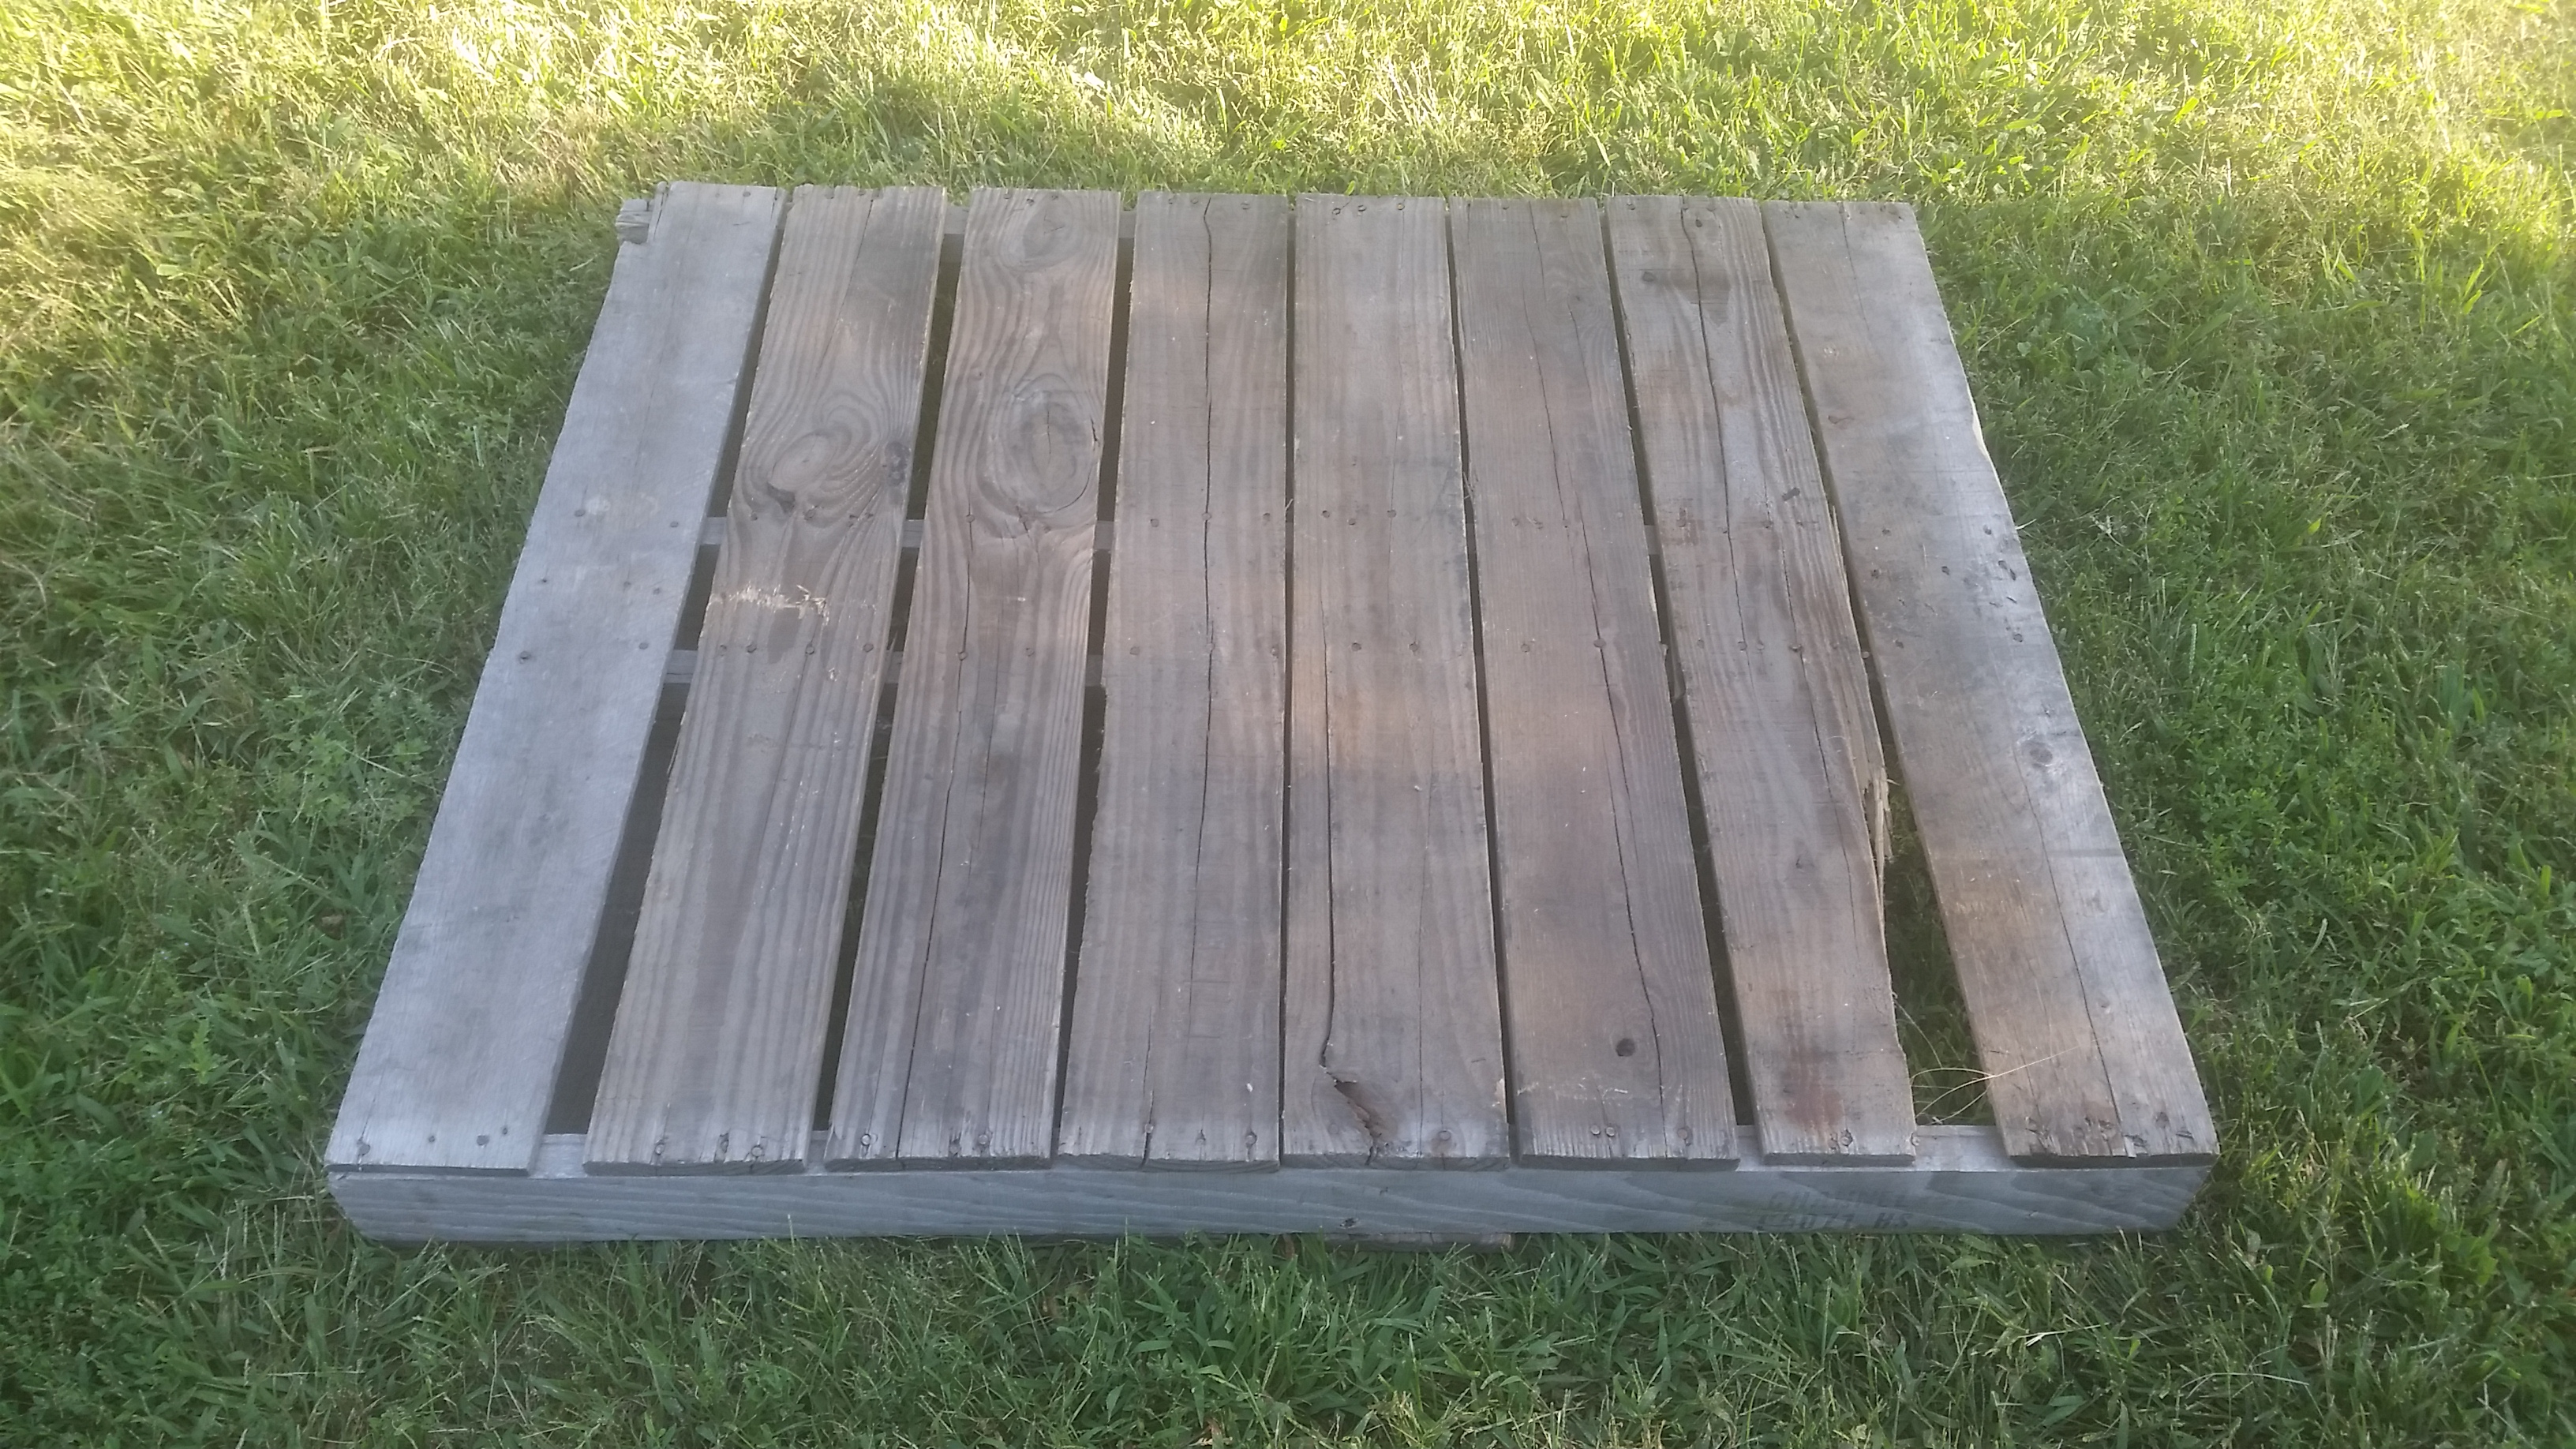
My husband got some old pallets from his work a while back, so we had them lying around waiting for a project like this.
If you aren’t lucky enough to have some lying around, contact your local hardware store or any other place you can think of that may have some.
Ask any friends or acquaintances if they know how to locate some. Pallets are quite popular and becoming increasingly difficult to find because there are so many cool things you can make with them.
You should still be able to get your hands on some, though, if you search hard enough.
The good news is you only need three or four pallets to make a basic mud kitchen so you don’t have to locate a whole truck load of them.
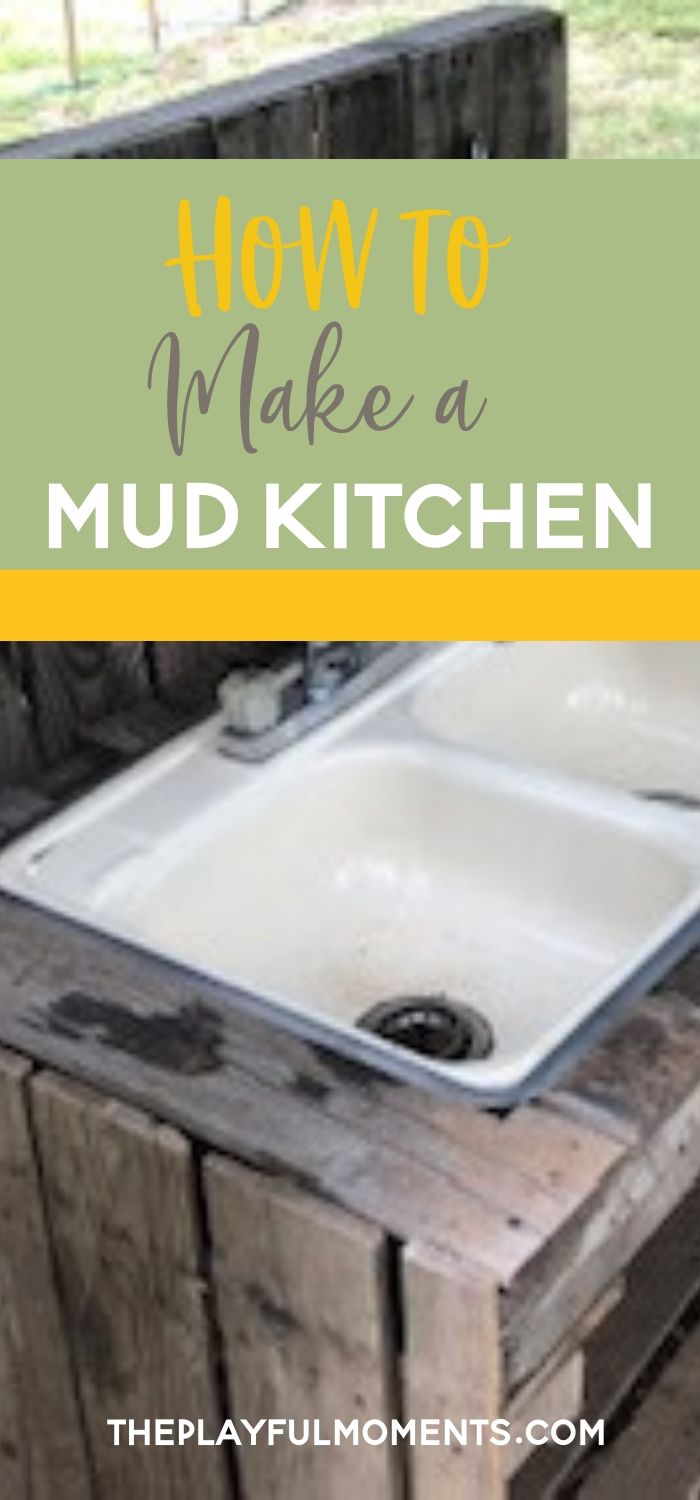
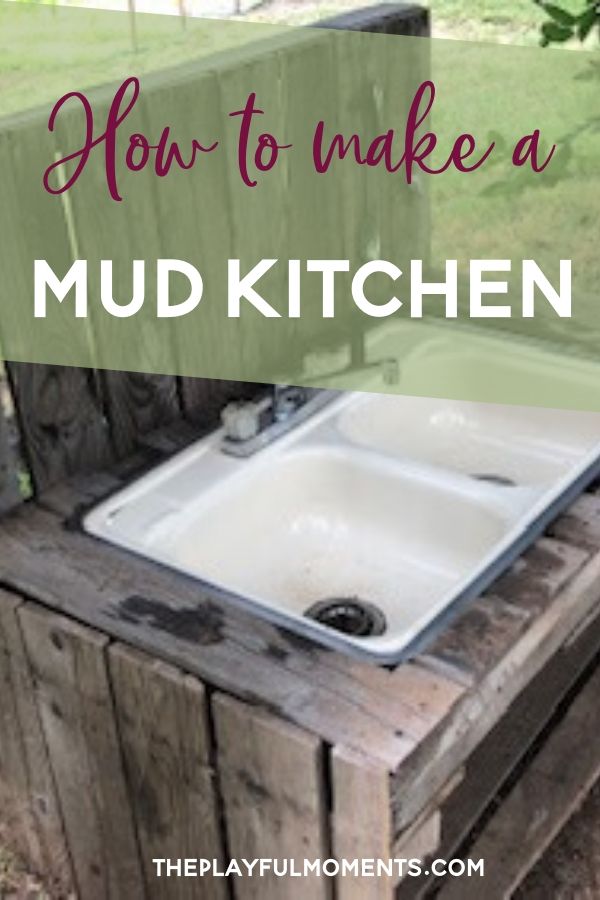
3) Find An Old Sink
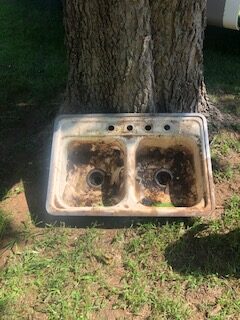
Like the pallets, we happened to have an old sink lying around. It had been replaced a while back and my husband held onto the old one.
Sometimes his tendency to keep things definitely comes in handy! I would have gotten rid of it when we replaced it and then we would have had to search for one.
If you need to find one, contact a remodeling company. Chances are they have recently swapped out the sink if they are remodeling a kitchen.
You can also buy a cheap sink if you absolutely can’t locate one.
I recommend trying to hunt an old one down if you can, though. Ask around. I bet it will be easier than you think to locate one.
If needed, clean the sink before installing. Ours was quite filthy! We had to power wash it to remove all the dirt and grime.
4) Cut, Assemble and Install
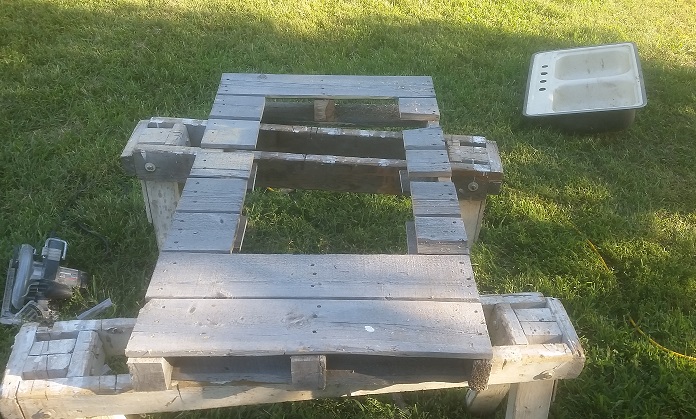
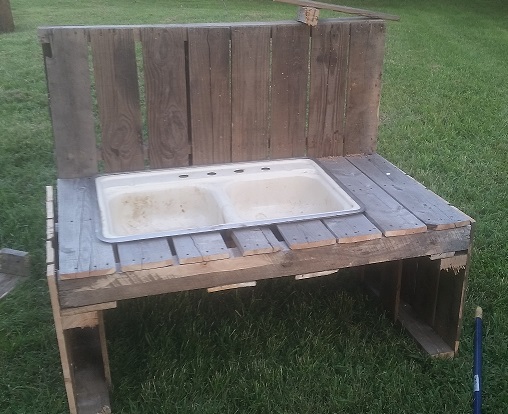
Cut the pallets so you have a back, side and base for the kitchen. You may have to nail a couple pallets together in order to have a big enough base to hold the sink and have some counter top space.
Measure the perimeter of the sink to see how big of an area you need to cut out of the base so the sink will fit.
Cut a hole in your base pallet and place your sink in it to make sure it fits snugly. Remove the sink and then nail the back, sides and base together.
Install the sink in the pre-cut hole after the kitchen is assembled.
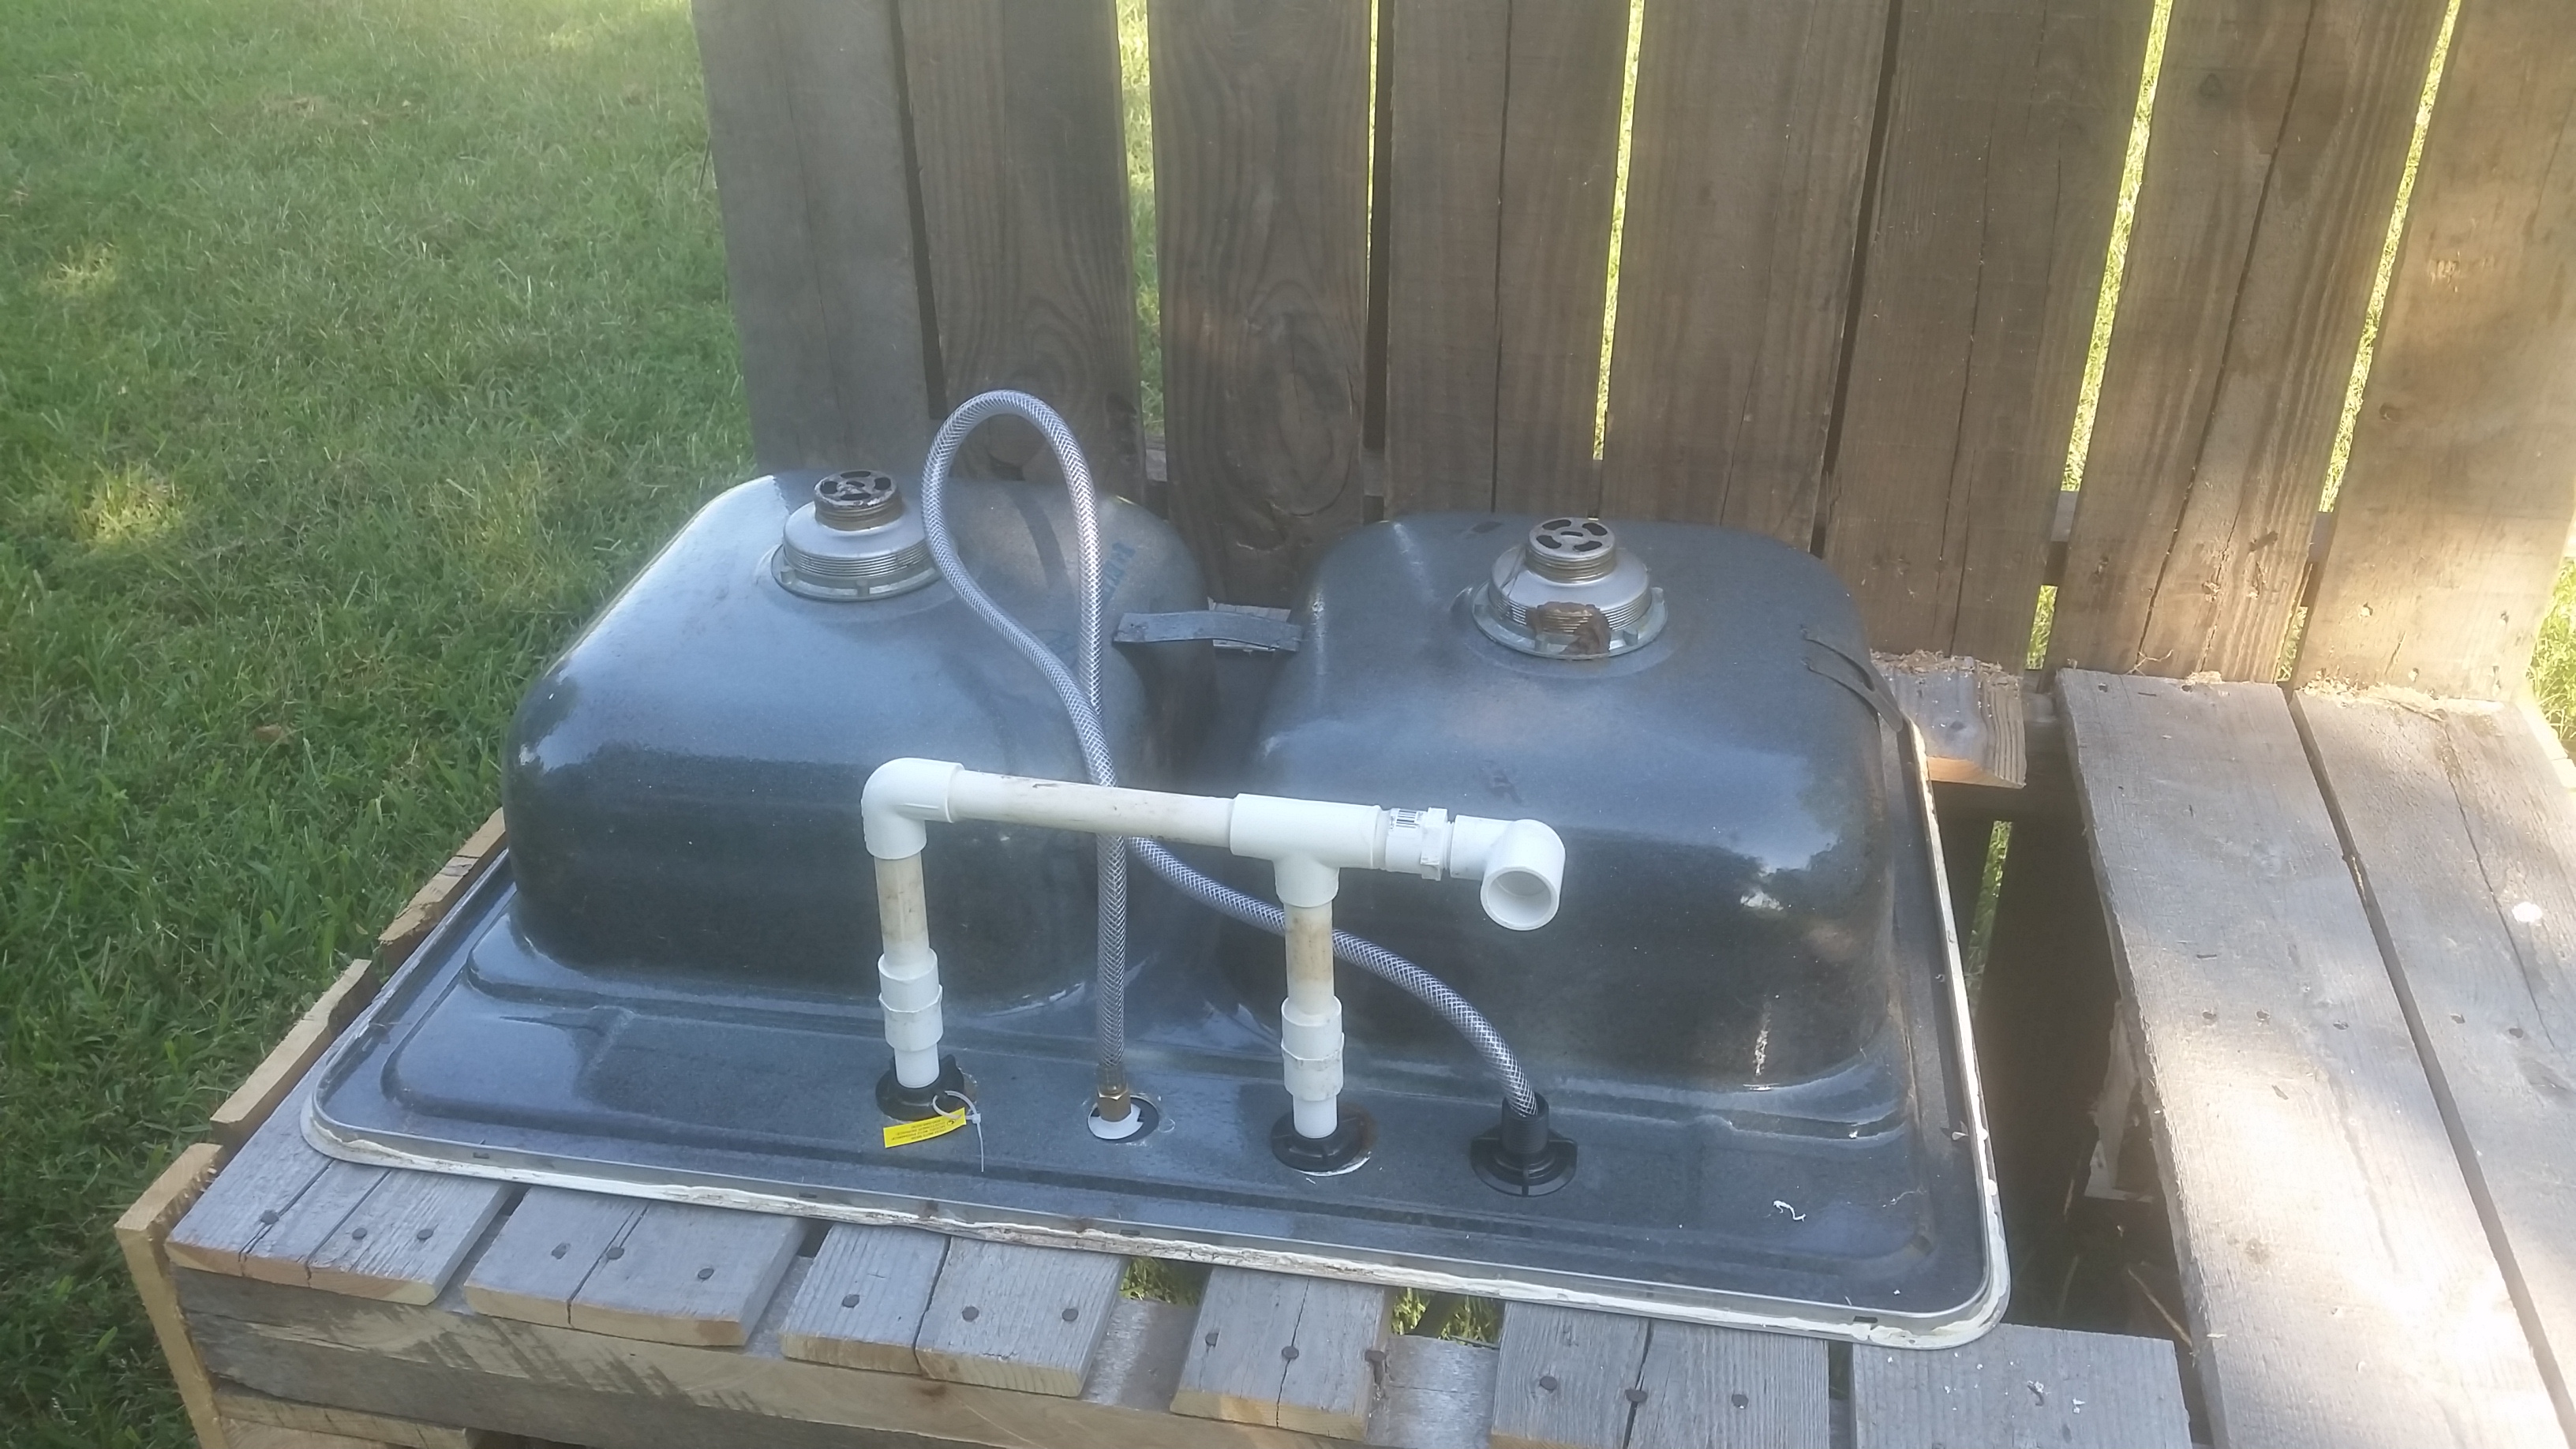
5) Hook Up the Plumbing
Plumb the faucet with standard PVC pipe, tying both the hot and cold sides of faucet together so they can be supplied by the garden hose hookup.
You will have to buy an adapter that goes from standard pipe thread to garden hose thread. Hook up the garden hose to the hose connector connected to the faucet plumbing.
Then turn on the garden hose faucet and when your kids turn on the sink faucet they should have a steady stream of water to play in.
6) Gather “Cooking” Supplies
Any old pots and pans you may have are ideal for your kids to use in their mud kitchen. Go to garage sales or visit Goodwill to find cheap pots, pie pans, bowls, muffin tins and utensils that can take the combined abuse of kids and the outdoor elements.
We found some cheap pans and bowls at my husband’s aunt and uncle’s estate sale recently.
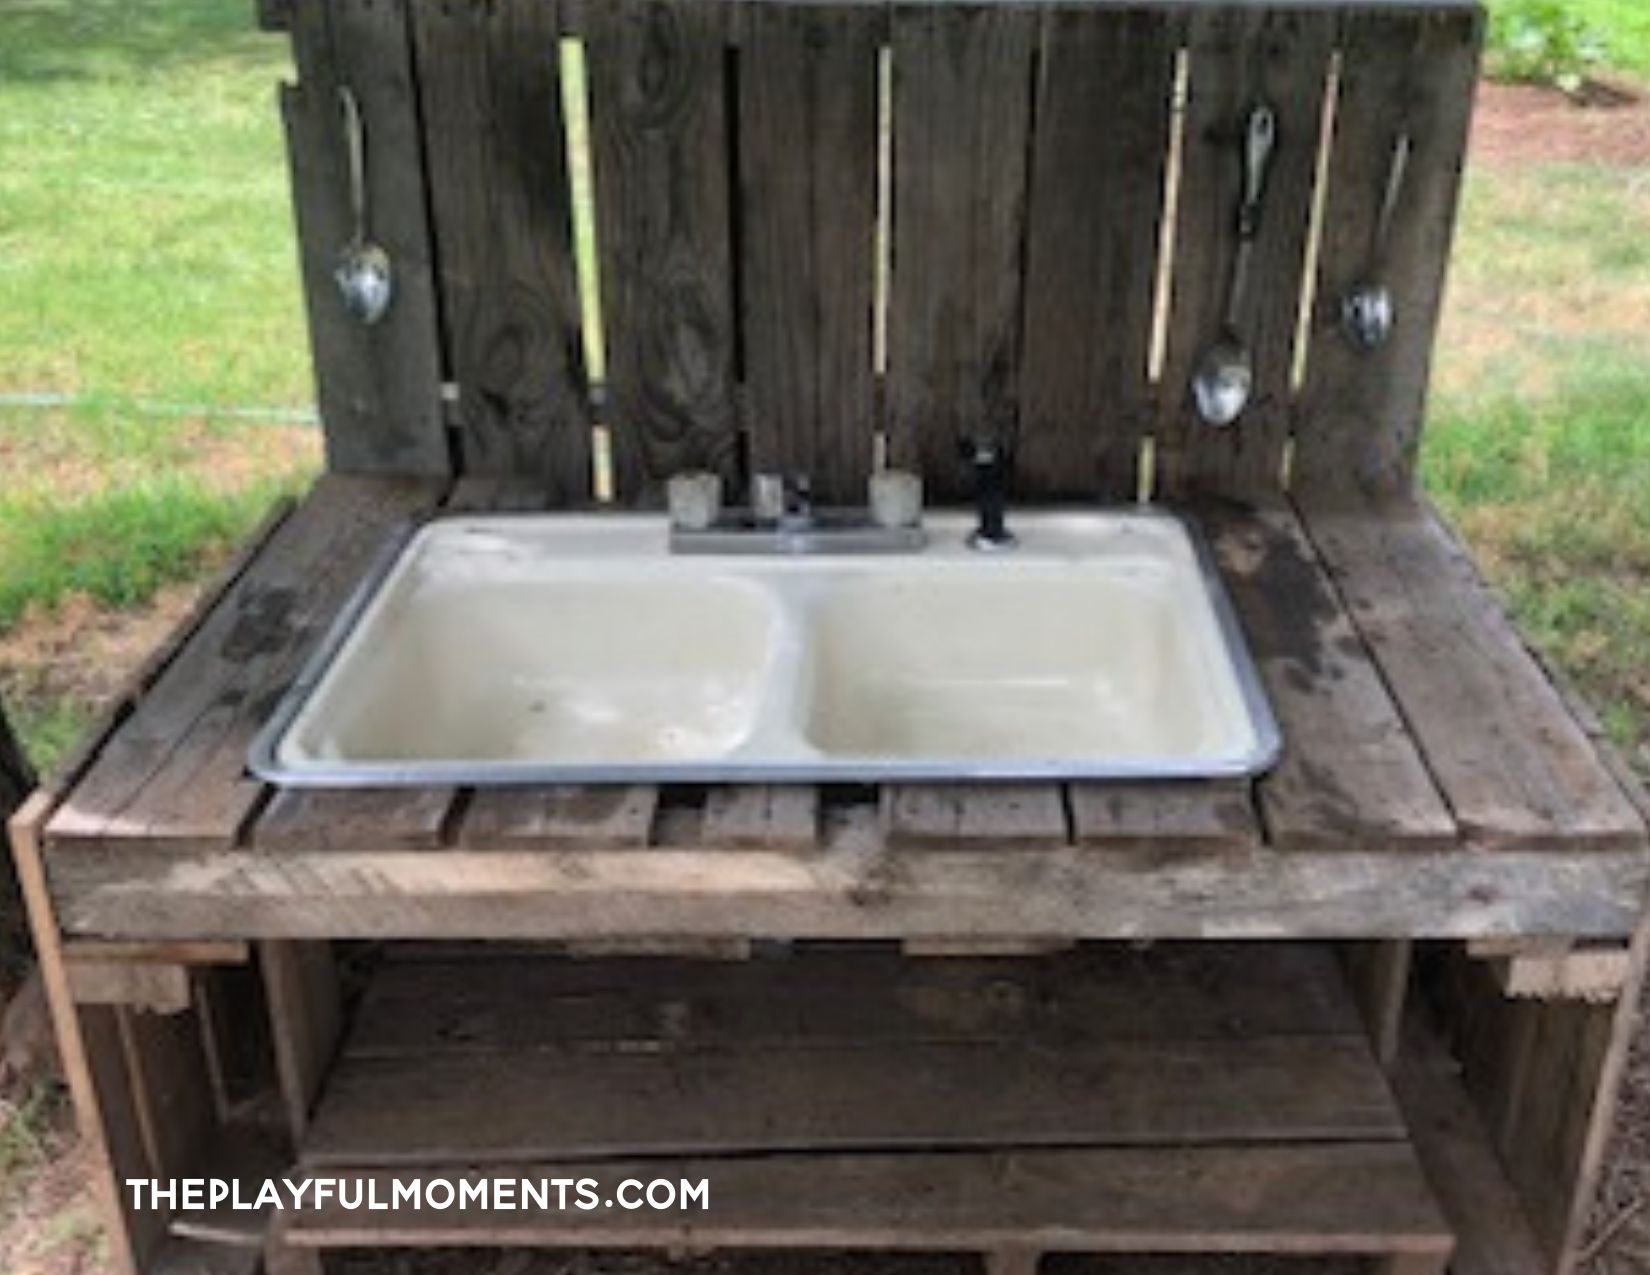
Visit your local dollar store and invest in some cheap spoons like I did. I also bought some mug hooks and installed them on the front of the back part of the kitchen.
The kids can store the spoons there when they are not digging and scooping with them. Store pots, pans and any other supplies under the sink.
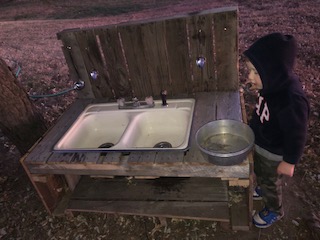
7) Make Memories with Your Kids
This is probably the most important step! Spend some time playing with your kids and their new kitchen. Show them how to make mud pies, cakes, cookies, muffins, pizza…. Use sticks, leaves and rocks as ingredients or garnishes for the dishes you create.
Make a meal and serve it picnic style on a blanket or on a picnic table. Let your children’s creative juices flow! They will more than likely have all kinds of neat ideas on how to use their mud kitchen.
Go Get Your Tools
Now that you have the instructions to make a mud kitchen, go get your tools and get started. Make the kitchen when your kids are not around and surprise them. They will be delighted for an excuse to play in the mud. Just don’t forget to remind them to keep the mud out of the house! Yuck!
Here is a quick recap of how to make a mud kitchen:
- Find a Kitchen Design You Like
- Locate Pallets
- Find an Old Sink
- Cut, Assemble and Install
- Hook Up the Plumbing
- Gather Cooking Supplies
- Make Some Memories with Your Kids
Once you have your kitchen finished, let me know in the comments below how the building process went. How easy was it to locate materials? Did the building process go smoothly? What do your kids think of their outside kitchen? Have you had a chance to play with them? What did you make to “eat?”
Any other tips or suggestions that will help others who might like to make a mud kitchen would be appreciated, too.
May you and your kids have many playful moments with your new kitchen!


Leave a Reply