Inside: Ideas for easy gardening with kids.
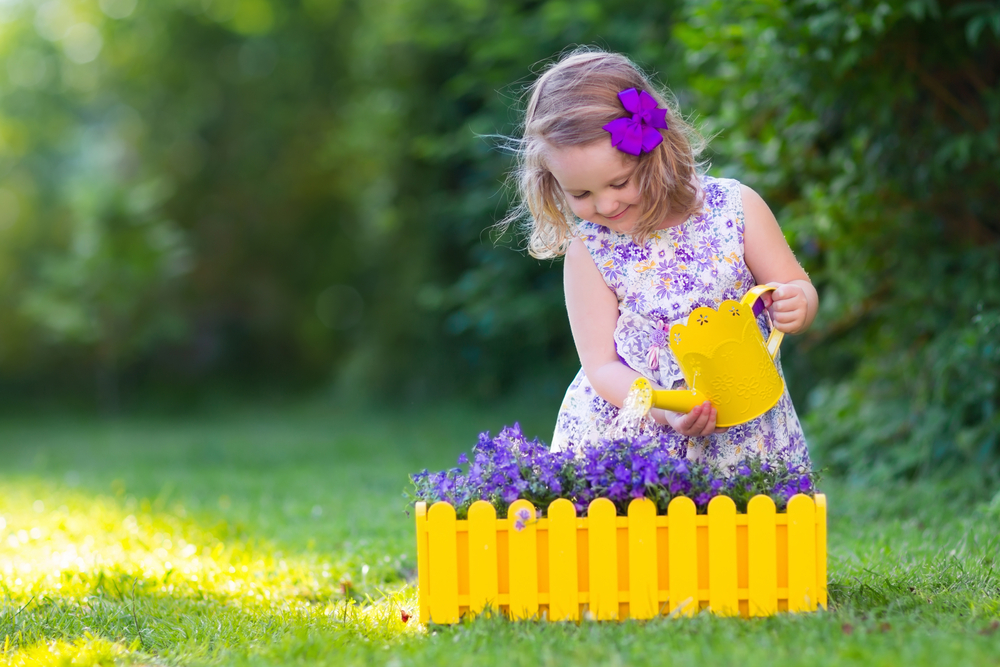
Are you looking for something that will keep your kids busy this spring and summer and help them learn responsibility at the same time? Why not try gardening with your kids?
Gardening provides many benefits for kids such as improving their math skills and teaching them all about how things grow.
The ideas in this post are simple and include both indoor and outdoor gardening. Start plants from seeds indoors and then transplant the seedlings outside when they are ready.
Most of the ideas in this post came from The Children’s Busy Book by Trish Kuffner.
Grab some potting soil and seeds for some easy gardening with kids!
Herb Garden
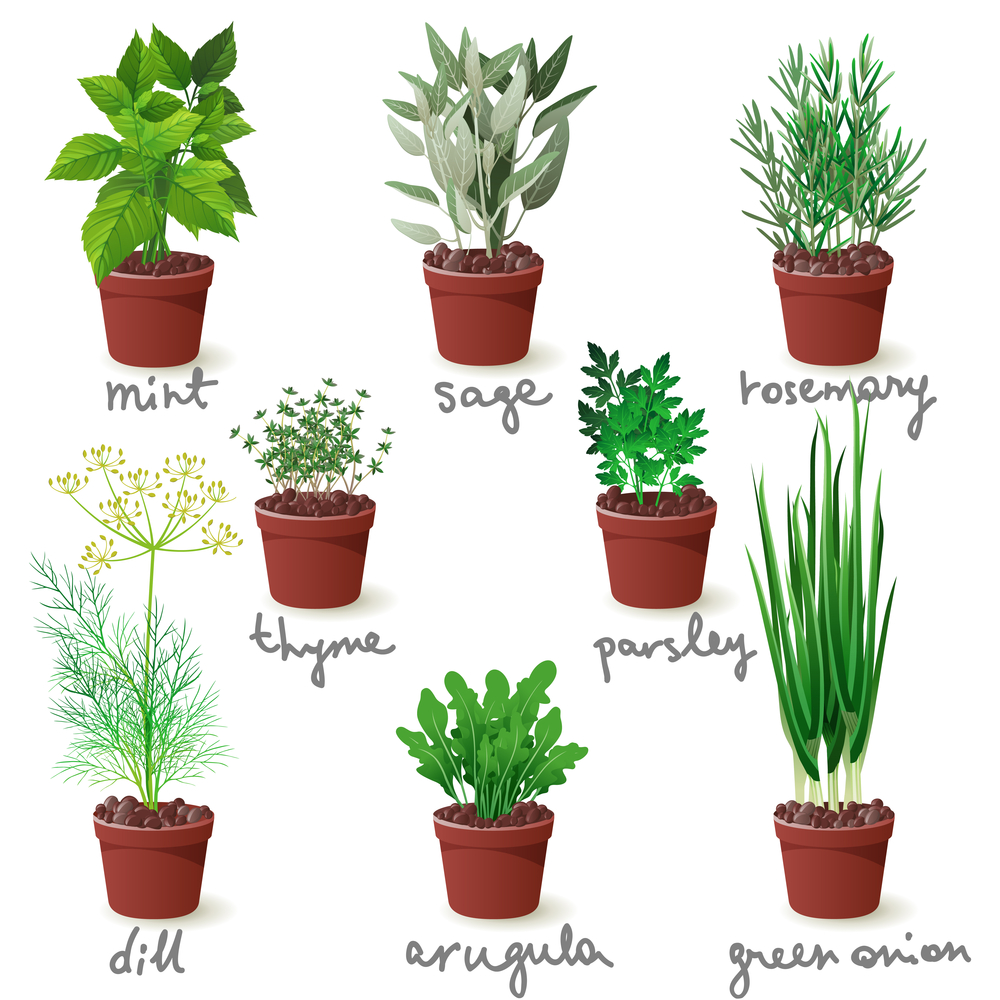
Possible herbs you can grow:
- Basil
- Thyme
- Rosemary
- Parsley
- Sage
- Marjoram
- Oregano
- Dill
- Cilantro
- Mint
- Chives
Supplies:
- Marker
- Popsicle sticks
- Empty coffee cans or cottage cheese containers
- Potting soil
- Spray bottle full of water
- Herb seeds
Directions:
Growing requirements for herbs vary, so be sure to read each seed packet before you begin planting.
- Help your child write the name of each herb you will be planting on a Popsicle stick.
- Fill each container two-thirds full of potting soil.
- Plant the seeds in the soil according to the instructions on the packets. Make sure you use a different container for each herb.
- Mark each container by placing the appropriate Popsicle stick in the soil.
- Spray each container with water until the surface of the soil is completely damp.
- Place the containers by a window that has good access to the sun.
- Spray the containers regularly to keep the soil damp but not wet.
- Seedling should appear in 2-4 weeks, depending on the herb.
- Let the plants grow for several more weeks.
- Use the leaves for cooking and freeze or dry any extras.
To freeze herbs:
- Chop the herbs.
- Mix them with a small amount of water.
- Freeze them in ice cube trays.
To dry herbs:
- Use rubber bands or string to tie the herbs together in groups of five.
- Tie the bunches by their stems to coat hangers. Make sure the bunches don’t touch each other.
- Hang the coat hangers in a closet or another room that is dark, dry and well-ventilated. This will prevent the growth of mildew.
- The herbs should be dry after about two weeks.
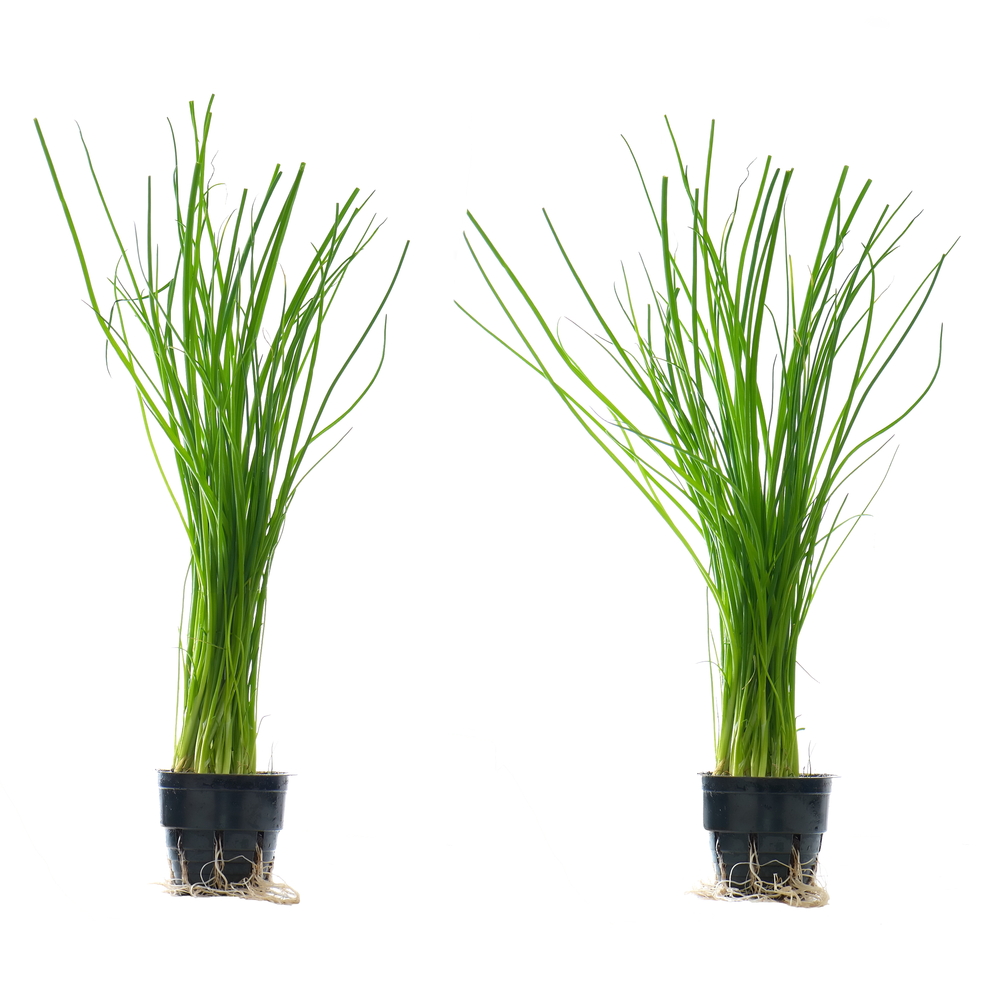
Green Onions
Supplies:
- Large yogurt or cottage cheese container or small coffee can that is leak proof.
- Potting soil
- Green onion seeds
- Full spray bottle of water
Directions:
- Invite your child to fill a container about two-thirds full of potting soil.
- Sprinkle the seeds on top of the soil and cover them lightly with more soil.
- Spray the surface of the soil with water until it’s completely damp.
- Place the container in an artificial lit or partially sunny place.
- Spray the containers regularly to keep the soil damp, but not wet.
- Seedling will appear in about two weeks.
- Thin the plants when they are about 2-3 inches tall, so that the remaining plants are about an inch apart.
- The onions are ready to be picked when the stems are as thick as a pencil.
Peanuts

Supplies:
- Glass or plastic container that is about six inches wide and four inches deep
- Potting soil
- Sand
- Fresh, unroasted peanuts in the shell
- Water
Directions:
- Invite your child to fill a container about two-thirds full of potting soil.
- Mix a little sand with the soil.
- Remove the shells from five peanuts.
- Place the nuts on top of the soil in your container. Place the nuts near the edge so you can see them grow if you are using a glass container.
- Cover the peanuts with one inch of soil.
- Place the container in a warm, sunny spot and keep the soil damp.
- Round leaves will begin to sprout in about two weeks.
- When the tallest plant is about five inches high, remove the other plants from the container and throw them away.
- Yellow flowers will fall off the plant when it is about a foot tall.
- Smaller flowers will form on each stalk and will develop fruit that will start bending toward the soil.
- The fruit will push its way into the soil and a peanut will form at each tip.
- Your child can dig up the peanuts when the leaves begin to turn yellow.
Lemon, Orange or Grapefruit Plant

Supplies:
- Lemon, orange and/or grapefruit
- Knife
- Leakproof containers
- Pebbles
- Water
- Potting soil
- Plastic wrap
- Rubber bands
Directions:
- Soak the seeds of the lemon, orange or grapefruit in water overnight.
- Fill a container about halfway with soil.
- Poke the seeds about a half-inch into the soil.
- Cover the container with plastic wrap and secure with a rubber band.
- Place the container on top of your refrigerator.
- Plants will sprout in about three weeks.
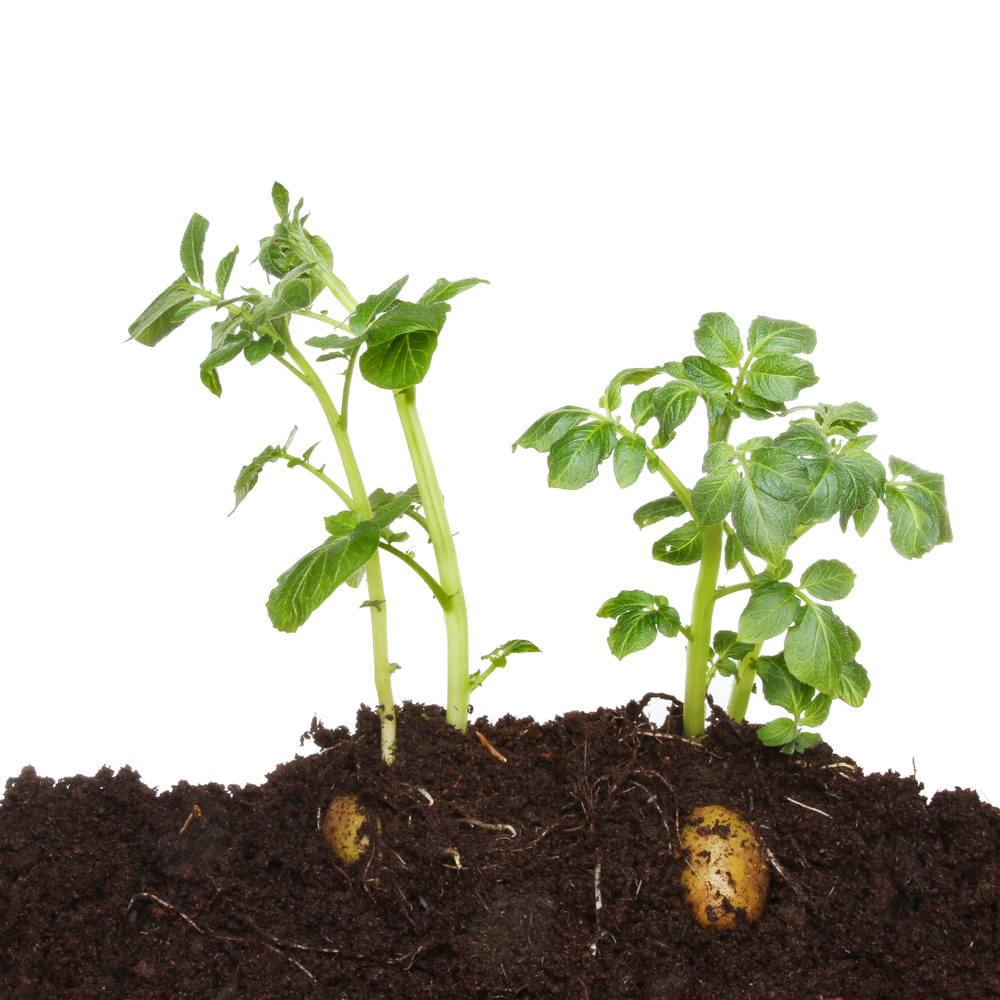
Potato Plant
Supplies:
- Potatoes
- Knife
- Leakproof containers
- Water
- Potting soil
- Plastic wrap
- Rubber bands
- Large bucket
Directions:
- Fill a large bucket about halfway with soil.
- Lay two small potatoes on the soil.
- Cover them with about one more inch of soil.
- Water the soil until it’s slightly damp.
- Place the bucket in a warm, sunny place.
- Leaves will sprout in approximately a week.
- Purple flowers will sprout next (and maybe even tiny potatoes beneath the soil).
A word of caution: Potato plants can be poisonous if handled improperly, Keep your plants away from small children and animals. Keep your potatoes away from light by covering them with plenty of dirt and storing them in a dark area. NEVER eat a potato with green sprouts.
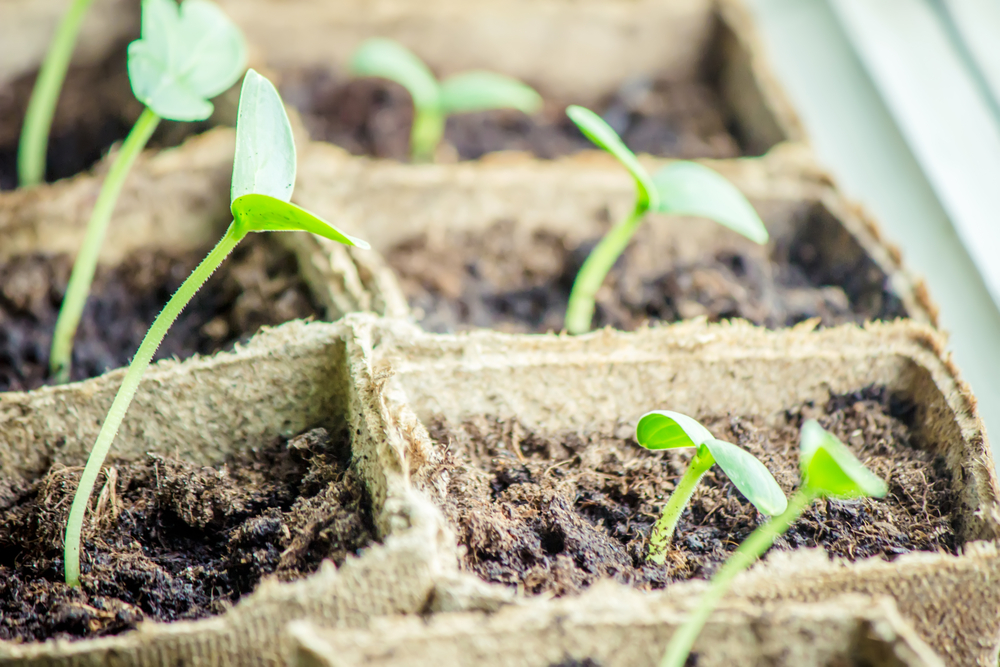
Seedlings
Supplies:
- Styrofoam cups
- Potting soil
- Seeds for vegetables or flowers
- Pen
- Tray
- Spray bottle full of water
- Plastic wrap
Directions:
- Fill the Styrofoam cups with potting soil.
- Plant the seeds according to the instructions on the seed packets.
- Label each cup with the name of the plant in it.
- Put the cups on a tray and spray them with water until the soil is damp.
- Cover the tray with plastic wrap and place it on top of your refrigerator. Don’t place the tray in a sunny spot.
- Each day, lift the plastic from the cups for an hour.
- Water the plants when the surface of the soil looks dry.
- When green sprouts appear, remove the plastic wrap and place the tray in a sunny spot.
- When the plants are four inches tall, they are ready to be transplanted.
- Help the plants adjust by putting the seedlings outside for a few hours each day before you transplant them.
- After a week, they’ll be ready for planting in your garden.
Flowers
Another ideas for easy gardening with kids is to invite your child to plant flower seedlings (that you have grown following the instructions for seedlings above) in flower pots or a prepared flower bed outside.
Buy some flowers at a local market and help your child transplant them to a pot or flower bed in your yard.
Vegetables
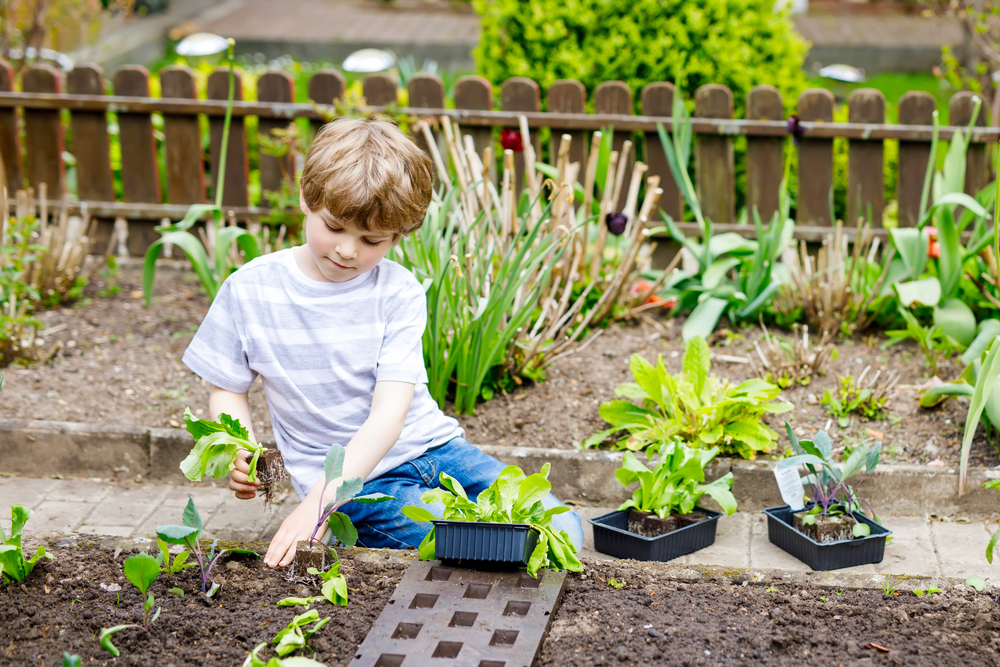
Have your child help you prepare a spot in your yard to grow a vegetable garden if you can. Another option, if you aren’t able to plant a garden in your backyard, is to plant a few seedlings in some large pots that you can place in a sunny location outside.
Allow your child to help you weed and water the garden. Then invite him to help pick the vegetables when they are ready to harvest.
Encourage your child to keep a written or video journal of the journey of the plants from planting to harvesting.
Hopefully, you will be inspired to try these ideas for easy gardening with kids. The benefits for both you and your children are numerous and everyone will reap enormous reward for their labor.
Happy planting and harvesting!


Leave a Reply